How to Make a Karaoke Video: Complete Step-by-Step Guide
Learn how to make a karaoke video from an audio file, video file, or video URL, with synced lyrics, readable styling, vocal removal, and clean MP4 export settings.

A karaoke video works when the singer can follow the lyrics without thinking about the editing behind them. The backing track sounds clean, the words appear at the right time, the screen is readable, and the final file plays reliably on the device you want to use.
This guide walks through the full workflow: choosing a source, preparing lyrics, removing vocals when needed, syncing the words, designing the screen, fixing common problems, and exporting the final MP4.
Quick Answer
To make a karaoke video, start with a clean song file, add accurate lyrics, remove or lower the lead vocal, sync the lyrics to the music, style the words for readability, preview the full song, and export the result as a 1080p MP4.
The fastest path is to use a karaoke video maker like Youka. Upload the song, paste or find lyrics, let AI create the first synced draft, then edit timing and style before exporting.
Example Karaoke Video
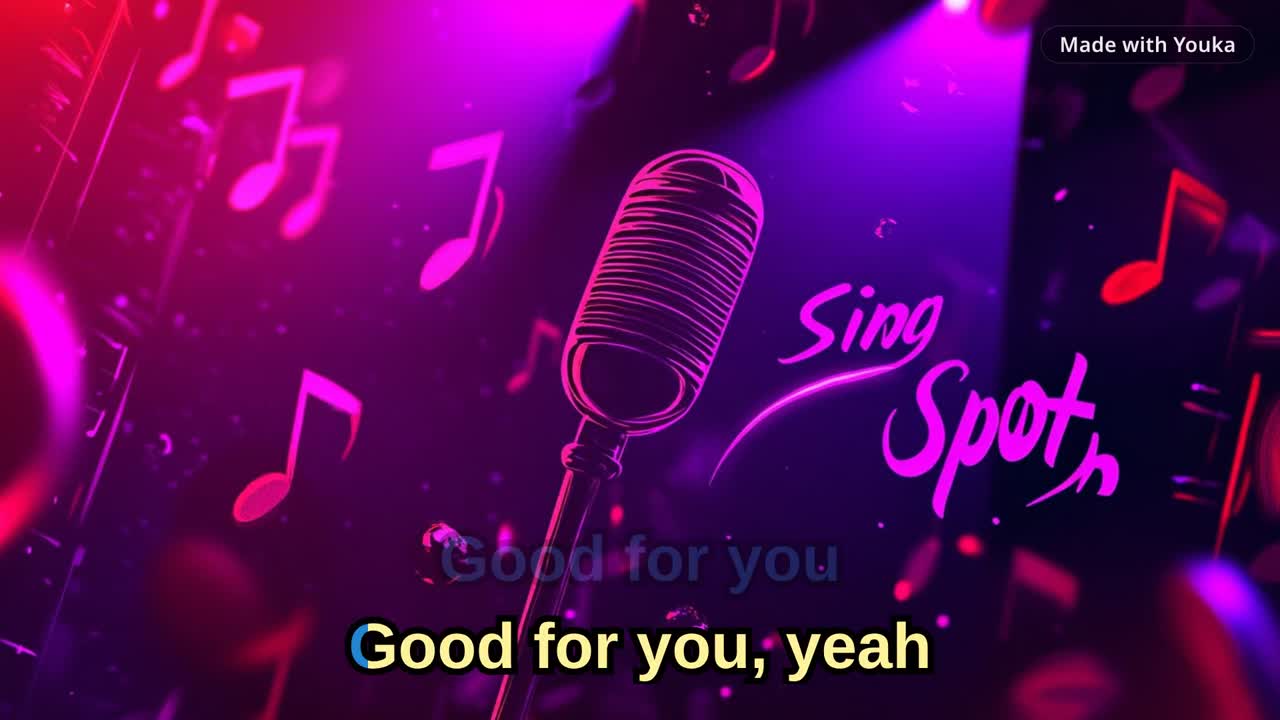
Here is a short Youka export created from an approved royalty-free sample track. It shows the final result you are working toward: synced words, readable styling, and a shareable MP4.
Demo music: Good For You by THBD, from Audio Library. Source: YouTube.
Table of Contents
- Choose the right source
- Prepare the lyrics
- Pick the workflow
- Create the first karaoke draft
- Fix lyric timing
- Design readable karaoke lyrics
- Export settings
- Troubleshooting
- Final checklist
Choose the Right Source
The source file decides how difficult the rest of the project will be. A clean studio recording is easier to process than a live recording with crowd noise, room echo, or heavy effects.
Good source options:
- a high-bitrate MP3
- a WAV or FLAC file
- a music video file
- an existing instrumental track
- a public video URL in Youka Online with the Youka Extension
Harder source options:
- live concert recordings
- phone recordings
- songs with heavy vocal effects
- files with crowd noise or applause over the vocal
- very low bitrate audio
- songs with long spoken sections or loose timing
If you already have an MP3, the focused path is MP3 to Karaoke. If you want to work from a public video URL, use YouTube to Karaoke or read the full video URL to karaoke guide.
Prepare the Lyrics
Lyric cleanup saves more time than it costs. Bad lyrics create bad timing, and bad timing is the main reason karaoke videos feel hard to sing from.
Before syncing, clean the lyrics:
- remove song titles, artist names, ads, credits, and timestamps
- include repeated choruses instead of writing "repeat chorus"
- keep punctuation simple
- split long lines into shorter singable phrases
- keep backing vocals and ad-libs only when singers need them
- check spelling before processing
Line length matters. Karaoke lyrics are read quickly, often from a TV or projector. Two short lines are usually easier to follow than one long line that stretches across the screen.
Pick the Workflow
There are three common ways to make a karaoke video.
| Starting Point | Best Workflow | Notes |
|---|---|---|
| Audio file | Upload the file, add lyrics, remove vocals, sync lyrics | Best for MP3, WAV, FLAC, M4A |
| Video file | Upload the video and use it as source media | Useful when you want original visuals |
| Public video URL | Use Youka Online with the Youka Extension | Best when you do not already have a local file |
| Existing instrumental | Add lyrics and sync timing only | No vocal removal needed |
| Original song with vocals kept | Create a lyric video | Good for artists and fan sing-along videos |
If you want the simplest browser workflow, use an online karaoke maker. If you need public video URL import, start in Youka Online with the Youka Extension.
Create the First Karaoke Draft
In Youka, the first draft follows this flow:
- Upload an audio or video file, or choose a supported source workflow.
- Paste lyrics or let Youka find lyrics when available.
- Start processing.
- AI separates the vocal from the instrumental.
- AI aligns the lyrics to the song timing.
- Youka creates a playable karaoke draft.
- Preview the project before export.
The first draft should get you most of the way there. The final quality comes from checking the video like a singer, not only like an editor.

Fix Lyric Timing
Karaoke timing should help the singer prepare. If words appear exactly when the vocal starts, the video may look technically aligned but still feel late during a real sing-along.
Check timing in passes:
- Play the song from the start and mark any obviously wrong sections.
- Fix large line-level timing issues first.
- Then fix word-level issues only where singers would notice.
- Preview from a few seconds before each edit.
- Sing or read along during the final pass.
Common timing fixes:
- shift an entire line earlier
- move one word that lands late
- split a long line into two shorter lines
- merge tiny fragments that change too quickly
- keep repeated chorus timing consistent
- leave a short lead before difficult phrases
If the song has loose phrasing, spoken sections, or ad-libs, do not try to make every syllable visually perfect. Make the video easy to sing from.
Design Readable Karaoke Lyrics
Good karaoke design is practical first. The singer needs to read quickly from a distance, often on a TV, projector, or phone screen.
Use these defaults:
- large sans-serif text
- strong contrast between text and background
- outline or shadow when the background changes
- one or two lyric lines on screen
- enough space above the bottom edge for TV overscan
- simple active/inactive colors
- a background that does not fight the lyrics
Avoid these problems:
- thin fonts over bright footage
- too many colors for a solo song
- long lines that run edge to edge
- fast decorative effects
- busy video backgrounds behind small text
- lyric blocks that cover important visuals
For duet songs, use different singer colors only when they help. Too many colors make the screen harder to scan.
Export Settings
For most karaoke videos, 1080p MP4 is the safest export format. It works well on YouTube, TVs, laptops, phones, and event playback systems.
| Destination | Recommended Export |
|---|---|
| YouTube | 1080p MP4, landscape, clean intro and outro |
| TV playback | 1080p MP4, large text, high contrast |
| Projector/event | 1080p MP4, extra-readable text, simple background |
| TikTok/Reels/Shorts | vertical crop or short clips if supported by your workflow |
| Practice track | MP3 instrumental if video is not needed |
| Personal karaoke library | consistent naming and 1080p MP4 exports |
Use the full karaoke video export settings checklist when you want a destination-by-destination preflight before export.
For living-room, classroom, projector, or event setups, use the focused TV-ready karaoke video checklist before the final export.
Before publishing or playing at an event, test the file on the actual device. A video that looks good on a laptop can still have text that feels too small across a room.
Troubleshooting
The vocals are still audible
Try a cleaner studio source. AI vocal removal is strongest when the lead vocal is clearly separated from the instruments. If the track has heavy effects, doubles, reverb, or crowd noise, some vocal artifacts can remain.
If the vocal cannot be removed cleanly, consider making a lyric video instead. A lyrics video maker workflow keeps the original vocal and focuses on synchronized text.
The lyrics are out of sync
First check whether the lyrics are correct. Missing repeated lines or extra text can throw off the alignment. After that, fix timing in larger chunks before making word-level edits.
The words are hard to read
Increase font size, simplify the background, add text outline, and strengthen contrast. Readability matters more than visual complexity.
The song has no lyrics online
Paste your own lyrics. For original songs, demos, covers, or obscure tracks, manual lyrics are usually better than relying on automatic lookup.
The file is too large
Use MP4 for the final video and keep the resolution practical. A full-length 1080p karaoke video will usually be much larger than an audio-only export, but it is the most compatible format.
The video is for commercial use
Make sure you have the rights to the song, lyrics, source video, fonts, backgrounds, and any logos or branding used in the final export.
Final Checklist
Before exporting the final karaoke video:
- source audio is clean enough
- lyrics are complete and formatted into readable lines
- vocals are removed or intentionally kept
- every section plays in the right order
- lyric timing feels singable
- text is readable from a distance
- background does not hide the lyrics
- duet colors are clear when needed
- export format matches the playback device
- rights are cleared for the intended use
Make Your First Karaoke Video
If you want the fastest path, start with the Karaoke Video Maker. You can also use the focused workflows for Online Karaoke Maker, MP3 to Karaoke, and YouTube to Karaoke.
The goal is not just to create a file. The goal is to create a karaoke video that people can actually sing from comfortably.